
Connectivity problems and software bugs typically cause live view failures in Blink cameras. They interfere with your camera or Sync Module’s connection, muddying or downright disabling Blink’s live view feature.
This can be fixed by:
- Ensuring that your Sync Module’s Wi-Fi connection is stable
- Resetting the Sync Module and power cycling the cameras
- Lowering the camera’s quality
- Checking your router’s range and capacity
These user-backed solutions should remedy any connectivity problems that may be coming from your Wi-Fi network or router, as well as any glitches that may be acting up in your Blink Sync Module or remote cameras.
If these don’t work, no worries! By applying these fixes, you should be able to provide your Blink support with valuable information about the methods you’ve tried. That said, here’s how to do these quick and easy DIY fixes.
A Breakdown of Common Blink Camera Live View Problems
Ensure Your Sync Module Wi-Fi Connection is Stable
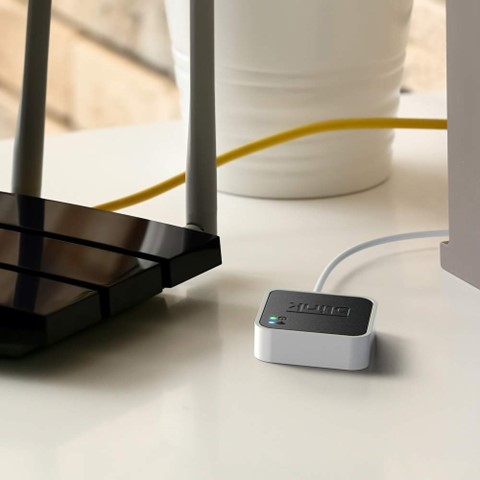
Signal disruption with the Sync Module’s WiFi connection is a common but often overlooked cause for failed Blink camera live views.
That said, the fix is quite simple: Put the Sync Module near the router! This eliminates any signal-disrupting obstacles and should only take a second to accomplish. Just unplug the Sync Module and plug it near your router (not too close though, as the signal can be “overloaded”)
This disruption is frequently due to the Sync Module being positioned too far away from your WiFi router. Not just that – there may also be too many obstacles between the two devices, such as walls, thick fabrics, large furniture, or even other wireless electronics, dampening connectivity.
If this doesn’t work, then you can single out your connectivity’s reach and clarity as the cause. The problem may be in your WiFi connection’s speed (bandwidth and latency) or glitches/errors in your devices. No worries – the next fixes tackle both causes.
Reset the Sync Module and Power Cycle the Cameras
Fully resetting the Sync Module is a great way to terminate any bugs, memory leaks, or long-running functions, allowing it to boot back up from scratch.
Power cycling your Blink camera fulfills a similar role, and it’s crucial that you do both while troubleshooting live view failures to cover your bases.
In practice, this is basically factory resetting and re-adding the Sync Module on your account and then removing the batteries on your camera and inserting them again.
Simple as it may seem, this fix has been known to resolve this issue and is worth trying even just to rule out minor bugs and errors. What’s more, this procedure takes no technical know-how and can be done in ten minutes:
Resetting the Sync Module
Before attempting this solution, keep in mind that this will delete any old settings on your Sync Module. This means that you’ll need to reconfigure them once you’ve re-added your Sync Module to your account.
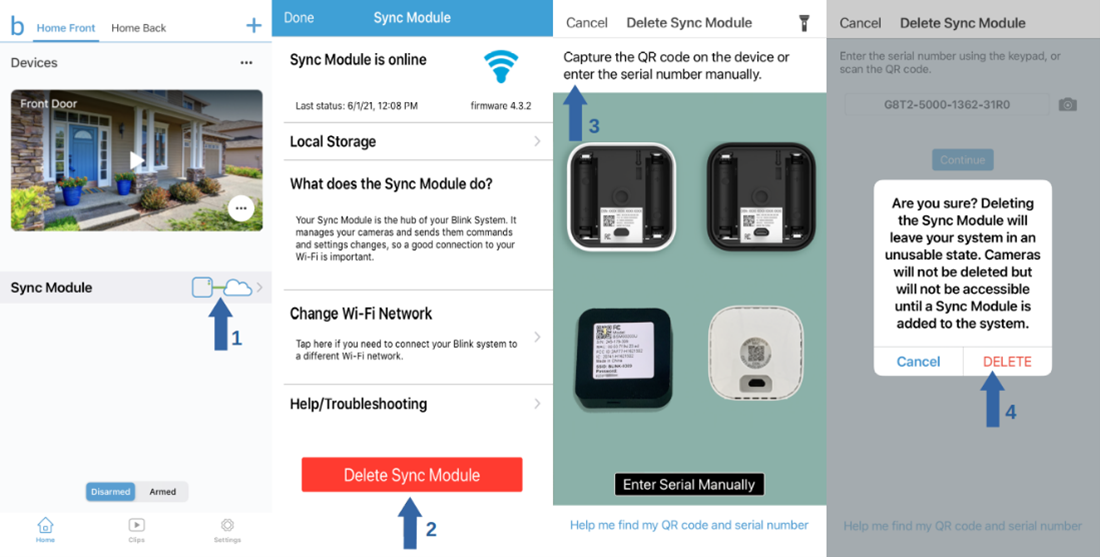
- Hold down the Reset button on the back of the Sync Module for 5 seconds until it flashes red. This initiates a factory reset, completely wiping out the device’s data and any glitches with it.
- On the Home menu of your Blink Home Monitor app, scroll down and tap on Sync Module. Select Delete Sync Module and tap OK on the popup.
- The app will then ask you to enter the Sync Module’s serial number or scan its QR code. You can find these on the back of the Sync Module.
- A popup will appear for confirmation – simply tap on Delete and unplug the Sync Module.
Once done, plug the Sync Module and add it to your account again, following the normal procedure for adding the device on the Blink Home Monitor app.
Power Cycling the Cameras
- Remove the batteries of your Blink camera and leave them out for at least 1 minute. This ensures the total removal of any leftover electrical charge from the device.
- The removal procedure for the batteries will depend on your Blink camera’s model, though we’ve covered how to handle some of them in this article.
- After 1 minute, put the batteries back in. For good measure, insert a new or reliable set of batteries.
After doing both procedures above, your Blink camera live view should hopefully be working as intended. Otherwise, it may be time to focus on issues with your connection’s speed and router’s configuration – more on that below.
Lower the Camera’s Video Quality
If your WiFi connection is too weak (below 3 Mbps upload speed), your Sync Module won’t be able to smoothly transmit data, leading to slowdowns if not failures of key Blink camera features.
The good news is you don’t need to pay for more bandwidth to address this issue – you only need to lower the camera’s video quality, which can be done in a matter of minutes!
By lowering the video quality, your cameras transmit less data, lowering the demand on your WiFi and allowing your Sync Module to smoothly parse a live view. What’s more, this is done completely within the app with no extra hassle at all:
- On the Home page of your Blink Home Monitor app, tap on the camera icon on the bottom left corner of your camera’s thumbnail.
- Select Video and Photo Settings and tap on Video Quality. Three options will appear: Best, Standard, and Saver.
- For best results, select Saver as this uses the least data of the three options (and also consumes much less battery). Once selected, the option will automatically be saved.
This change should help your Blink Camera’s live view work properly, even with a slow network connection – though only up to a certain extent. If not, then you’ll have to take a closer look at your router, as explained below.
Check Your Router’s Range and Capacity
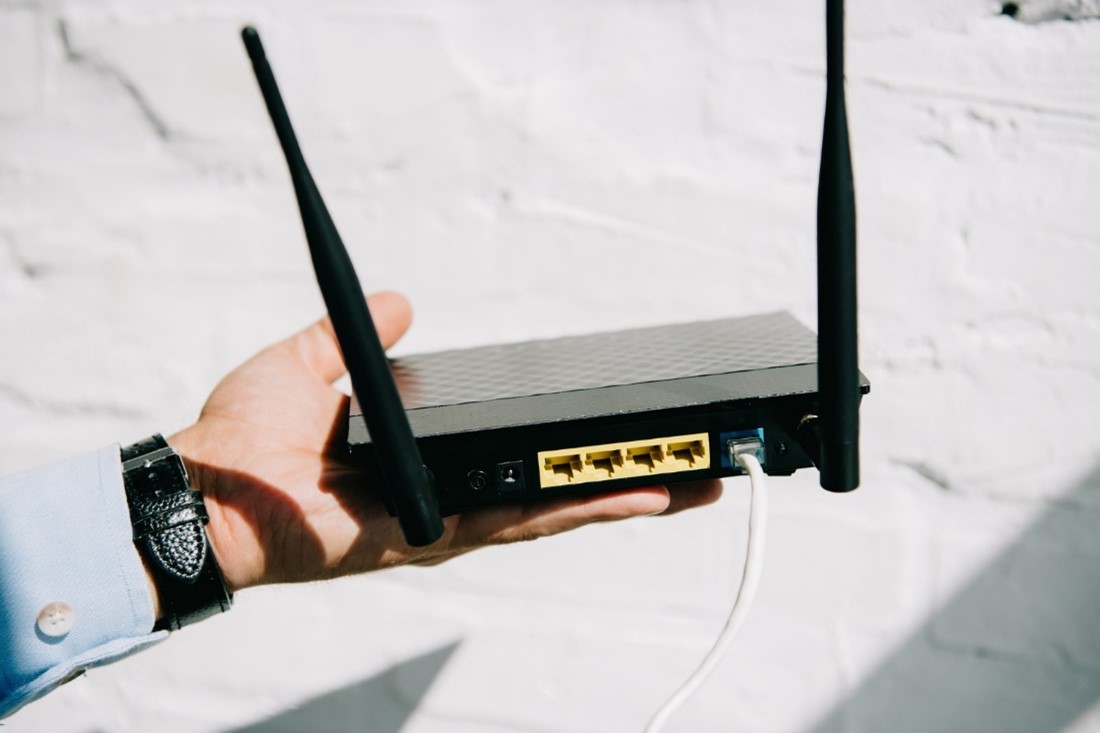
If none of the above troubleshooting steps have resolved the issue, then consider your router’s capabilities. One of the most common culprits for Blink cameras failing to transmit live views is a router with weak range and capacity.
This is especially the case if you have a set-up without a Sync Module (i.e. the cameras are directly connected to the router). Average home routers can handle up to five cameras, with that count going down if you have any other wireless devices connected to it.
If some of your Blink cameras have live view, while others don’t, then distance and signal disruption are very likely causes. The cameras may be out of the router’s range (normally ~30 feet) or may have too many solid obstacles or other wireless devices between them.
If your Blink cameras are within the router’s range and there are no sources of signal disruption nearby, then the router itself is likely to be the cause of the issue.
Fixing Router Issues Preventing Live View
Even with high-speed internet, routers can occasionally fall short of parsing through hefty signal traffic. This can lead to live view failures for your Blink camera.
For instance, a hybrid router-modem combo is known to struggle with handling the connections of multiple devices. This can also occur if your router has outdated firmware, causing network errors for devices with the latest tech.
Final Thoughts
Sometimes, the problem isn’t so much your WiFi’s strength as the router’s technology and software itself. In this case, reducing your Blink camera’s video quality or placing your Sync Module close to your router won’t address the problem.
You’ll have to reduce the number of active cameras or update/upgrade your router. The former is easy to do but inconvenient, but the latter is more effective albeit costly, time-consuming, and technically challenging.
That said, consulting with a network technician is the best next step to diagnose your router for any incompatibilities with your Blink setup and potentially resolve the issue. They can also provide excellent advice on upgrading your router for your setup.